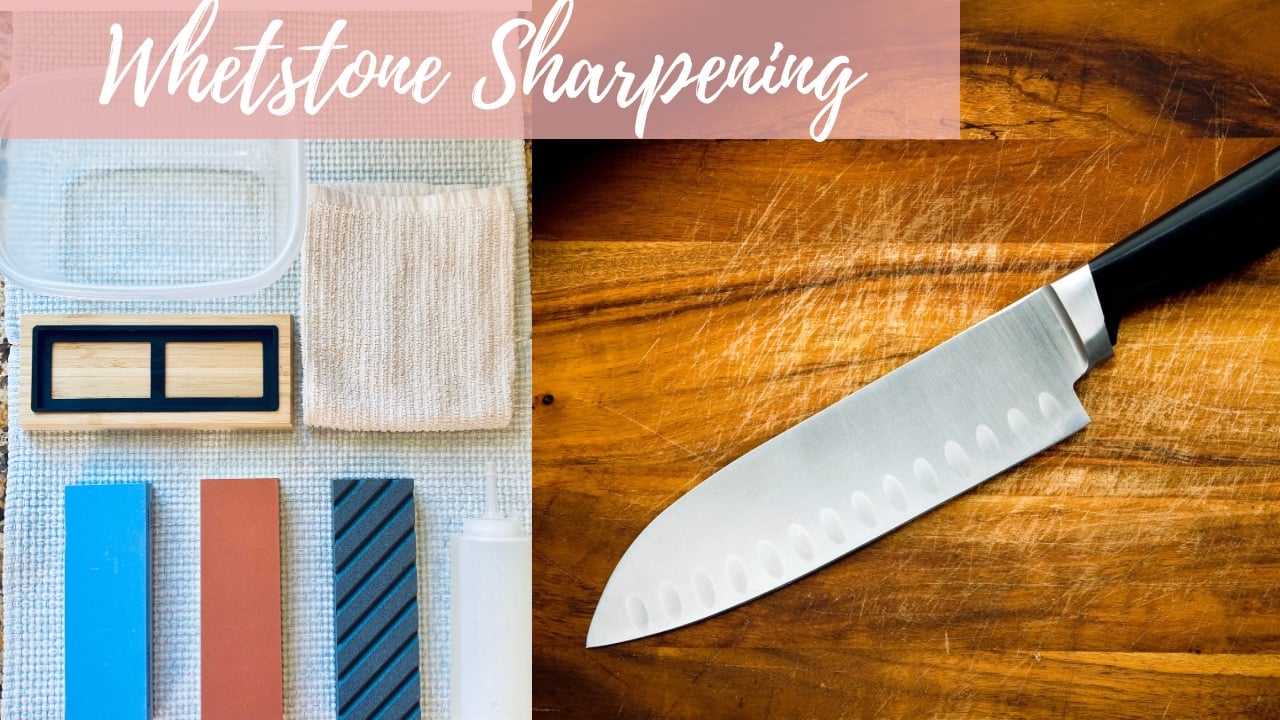
There's nothing worse than a dull knife. Whether you're a total beginner with whetstone sharpening or you've already given it a try, I'm going to share with you 5 common sharpening mistakes to avoid, and what to do instead. Before you know it your knife will be razor sharp and ready to handle all of your slicing and dicing with ease.

5 Common Beginner Mistakes to Avoid
This list summarizes the 5 most common beginner mistakes to avoid with whetstone sharpening. Knowing what NOT to do will help you to stay on track and you'll have a much better knife sharpening experience!
1.) Not having all of the essential gear before getting started.
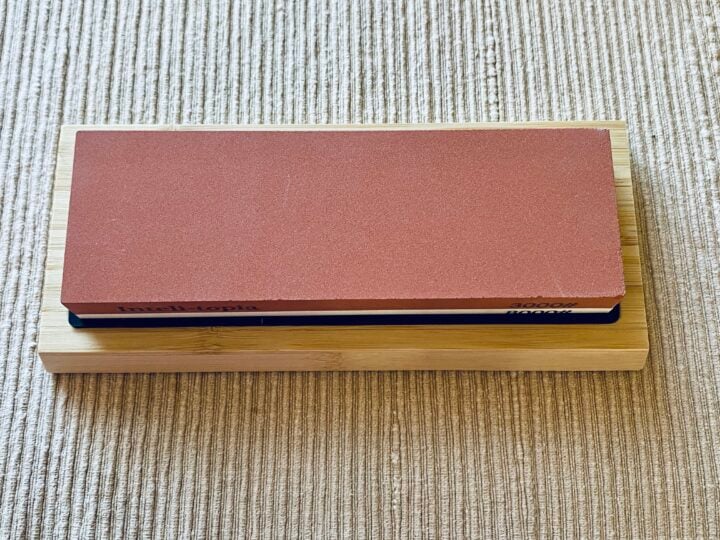
A common mistake I see is not having the right gear. Before you begin whetstone sharpening, you'll want to make sure that you're organized with the right equipment. Below is a list of some of the gear I use. If you wanted to keep it simple, you could get away with only owning one whetstone, with a coarse side and a fine grit side. But I wanted to provide you with a comprehensive list in case you want to keep on hand the tools that I use.
RECOMMENDED GEAR:
- Whetstones (at least one coarse grit and one finer grit stone):
- Coarse stone (400 - 1000 grits): https://amzn.to/4be1U8X
- Fine stone (3000 - 8000 grits): https://amzn.to/3SdkMwn
- Flattening stone: https://amzn.to/42fUsWI
- Squirt bottle or bowl of water to keep on hand - https://amzn.to/4baNS7Z
- Vessel to soak your whetstone
- Old towel or paper towels
- Something to raise your stone (either a bamboo tray that accompanies some whetstones or a stone holder)
- Paper to test your knife’s sharpness
- An apron to keep your clothes clean - Intelitopia Complete Knife Sharpening Stone Set: https://amzn.to/3Hy5UUf
- King Whetstone Set (1000 - 6000 grits): https://amzn.to/3tXIwwt
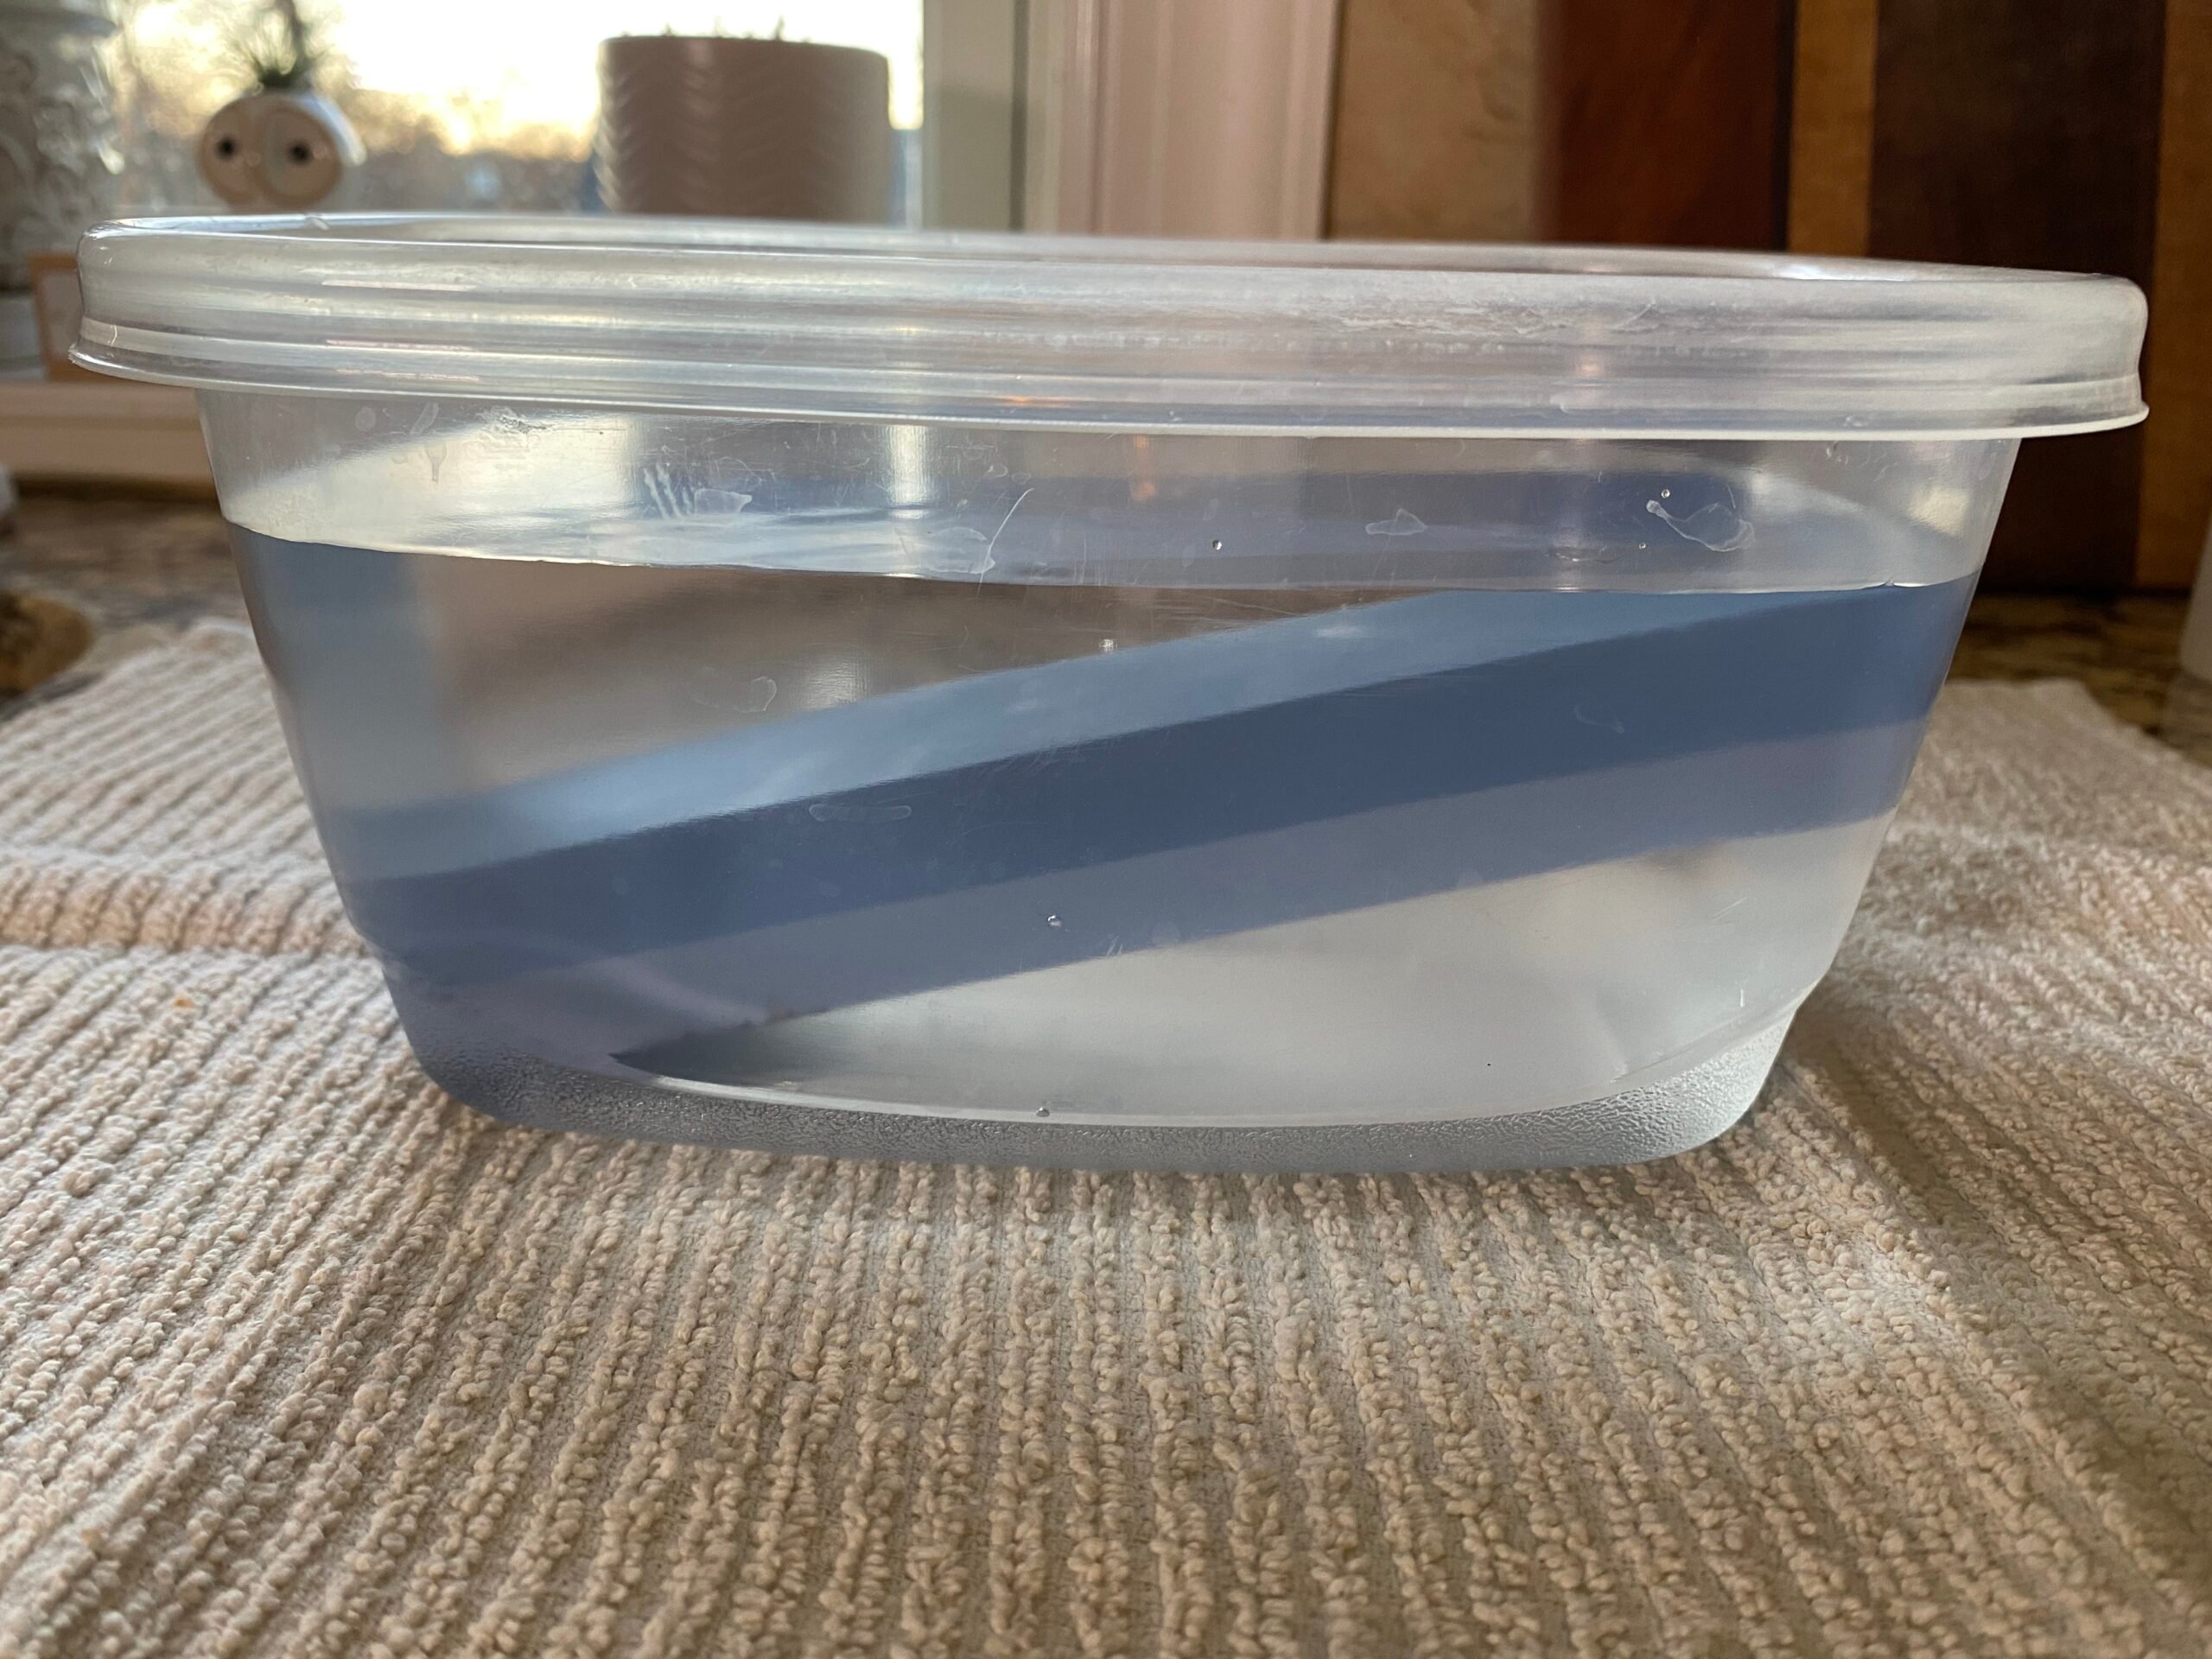
2. Not soaking your stone for the correct amount of time.
First determine if you're working with a soaking stone or a splash stone. If it's a splash stone it doesn't need soaking at all. If it's a soaking stone, it's always best to check the manufacturer's instructions for your whetstone to find out the recommended soaking time. But 5 to 10 minutes is generally ok, with a maximum of 20 minutes.
3. Using an inconsistent angle as you sharpen your knife.
First of all, is your knife a Japanese knife or a French or German brand? Knowing this helps to determine the angle. Japanese knives are usually sharpened using a 15 degree angle, whereas a French or German knife is sharpened using a 20 degree angle.
4. Using inconsistent pressure as you sharpen your knife.
Instead, apply an even amount of pressure while sharpening your knife to avoid dull spots on the edge. Don't get too caught up in 15 degrees versus 16 degrees, but rather, use a consistent angle as much as possible. Using a knife guard as a beginner could help you to maintain the correct angle more easily. Just be sure to apply painter's tape to the back of your knife before adding the knife guard. This will help to protect your knife and avoid scratches.
5. Not taking enough time and rushing the process.
Think of whetstone sharpening as a meditation. Take your time and focus on quality over speed when whetstone sharpening. You will get faster the more you practice, but slowing down for the first few times will help you to perfect the process.
Whetstone Grits:
Selecting the right whetstone grit is important. Let me explain a little bit more about whetstone grits so you understand the different ones that are available.
- Low Grit/Coarse: 200 - 600 grit - Used on extremely dull knives and to repair nicks and chips in the blade. This helps to remove old, worn metal quickly.
- Medium Grit: 800 - 2000 grit - Generally a good place to start, especially for beginners. A medium grit stone will smooth out the knife bevel and will help to refine the edge.
- High Grit/Fine: 3000 - 8000 or more - These stones are used to smooth, polish and refine the blade, ensuring that your knife keeps a sharp edge.
The Whetstone Grit Progression I used in the Youtube video featured in this blog post: I began with a very coarse 400 grit. Then I used a finer 1000 grit, progressing to a 3000 grit. And I ended with a super fine 8000 grit, but only finish with an 8,000 grit on a Japanese knife if you cut a lot of fruits and vegetables.
So to summarize, it was 400 > 1000 >3000 > 8000
But this may not be appropriate for your knife if it's newer or not used too often. I only needed a very coarse stone such as the 400 since my older knife was quite dull from daily use. And the very fine 8000 grit was useful since my knife is a Japanese knife. If you own a German knife that hasn't been used too much it may only require sharpening on a 1000 grit and then refining it on a 3000 to 4000 grit stone. So always check your knife manufacturing instructions to see if there are recommendations regarding sharpening your particular knife.
Splash-n-go Stones
Splash-n-go stones are a different type of whetstone that don't require soaking. If you go this route just know that they are not as beginner-friendly, and tend to be more expensive. But it's a nice time-saver that splash-n-go stones only need a splash of water and they're ready to use.
In summary, splash-n-go stones:
- Do not require soaking, just a splash of water
- Tend to be more expensive
- Are not as beginner-friendly

Sharpening Different Types of Knives
The way you sharpen your knife depends on what type of knife it is. French and German knives require different care than a Japanese knife.
German Knives vs. Japanese Knives
German Knives/French Knives:
- Finish with a 2,000 to 4,000 grit
- Generally use a 20 degree angle, but always check your knife’s manufacturer’s instructions.
- Will feel heavier in your hand
Japanese Knives:
- Made of harder steel
- Generally use a 15 degree angle, but always check your knife’s manufacturer’s instructions.
- Finish with a 6,000 to 8,000 grit stone
- Tend to feel lighter in your hand
How Long to Soak the Whetstone:
- Low and Medium Grit Stones: About 5 to 10 minutes. When the air bubbles stop getting released the stone is ready.
- Fine Stones: Only a few minutes at the most. Some fine stones are delicate and will become easily broken if soaked at all. Check your whetstone’s instructions. Some only require a splash of water, similar to a splash stone.
What is a “Burr?”
A burr is the curved lip of waste metal that forms on the edge of the blade as you are sharpening with a whetstone. The act of creating a burr is referred to as “raising a burr.” You will feel a slight catch as you move over the edge, indicating the presence of a burr. This is a good thing! But at the end of the sharpening process we can “de-burr” the edge and smooth it down using a fine stone to smooth the burr.
HOW TO SHARPEN A KNIFE USING WHETSTONE:
So now that we know the mistakes to avoid, let's run through the proper steps to sharpening a knife using a whetstone.
STEP 1: Gather the necessary gear.
Just to recap, the gear you will need includes:
- Coarse whetstone
- Fine whetstone
- Flattening stone
- Squirt bottle or bowl of water to keep on hand
- Vessel to soak your whetstone
- Old towel and/or paper towels
- Something to raise your stone (either a bamboo tray that accompanies some whetstones or stone holder
- Paper to test your knife’s sharpness
- An apron to keep your clothes clean
- OPTIONAL:
- Angle guide + Scotch tape or painter’s tape to protect the back of your knife if you attach an angle guide to it.
- Leather strop
- Rubber finger protectors or a thimble

Select what grit whetstones you will need to sharpen your knife. The lower the number means the coarser the stone. More of your knife’s edge will be removed more quickly using a 220 grit whetstone, as opposed to a 1,000 grit stone. If your knife’s edge has nicks that need to be fixed, a lower grit stone will help with that. If you’re a beginner you probably will not want to begin with a 220 grit as it could take too much off your knife’s edge too quickly.
STEP 2: Soak the whetstone.
First you will use a coarse grit whetstone. Some whetstones have both a coarse side and a finer side. Now, how long do you have to soak a whetstone? Place your selected coarse whetstone in water to cover for 5 to 10 minutes, or until the air bubbles stop getting released. But always check your whetstone's manufacturer's instructions since some finer grit stones can be soaked for just a few minutes, whereas a coarser stone may need to be soaked longer, for 15 or 20 minutes.
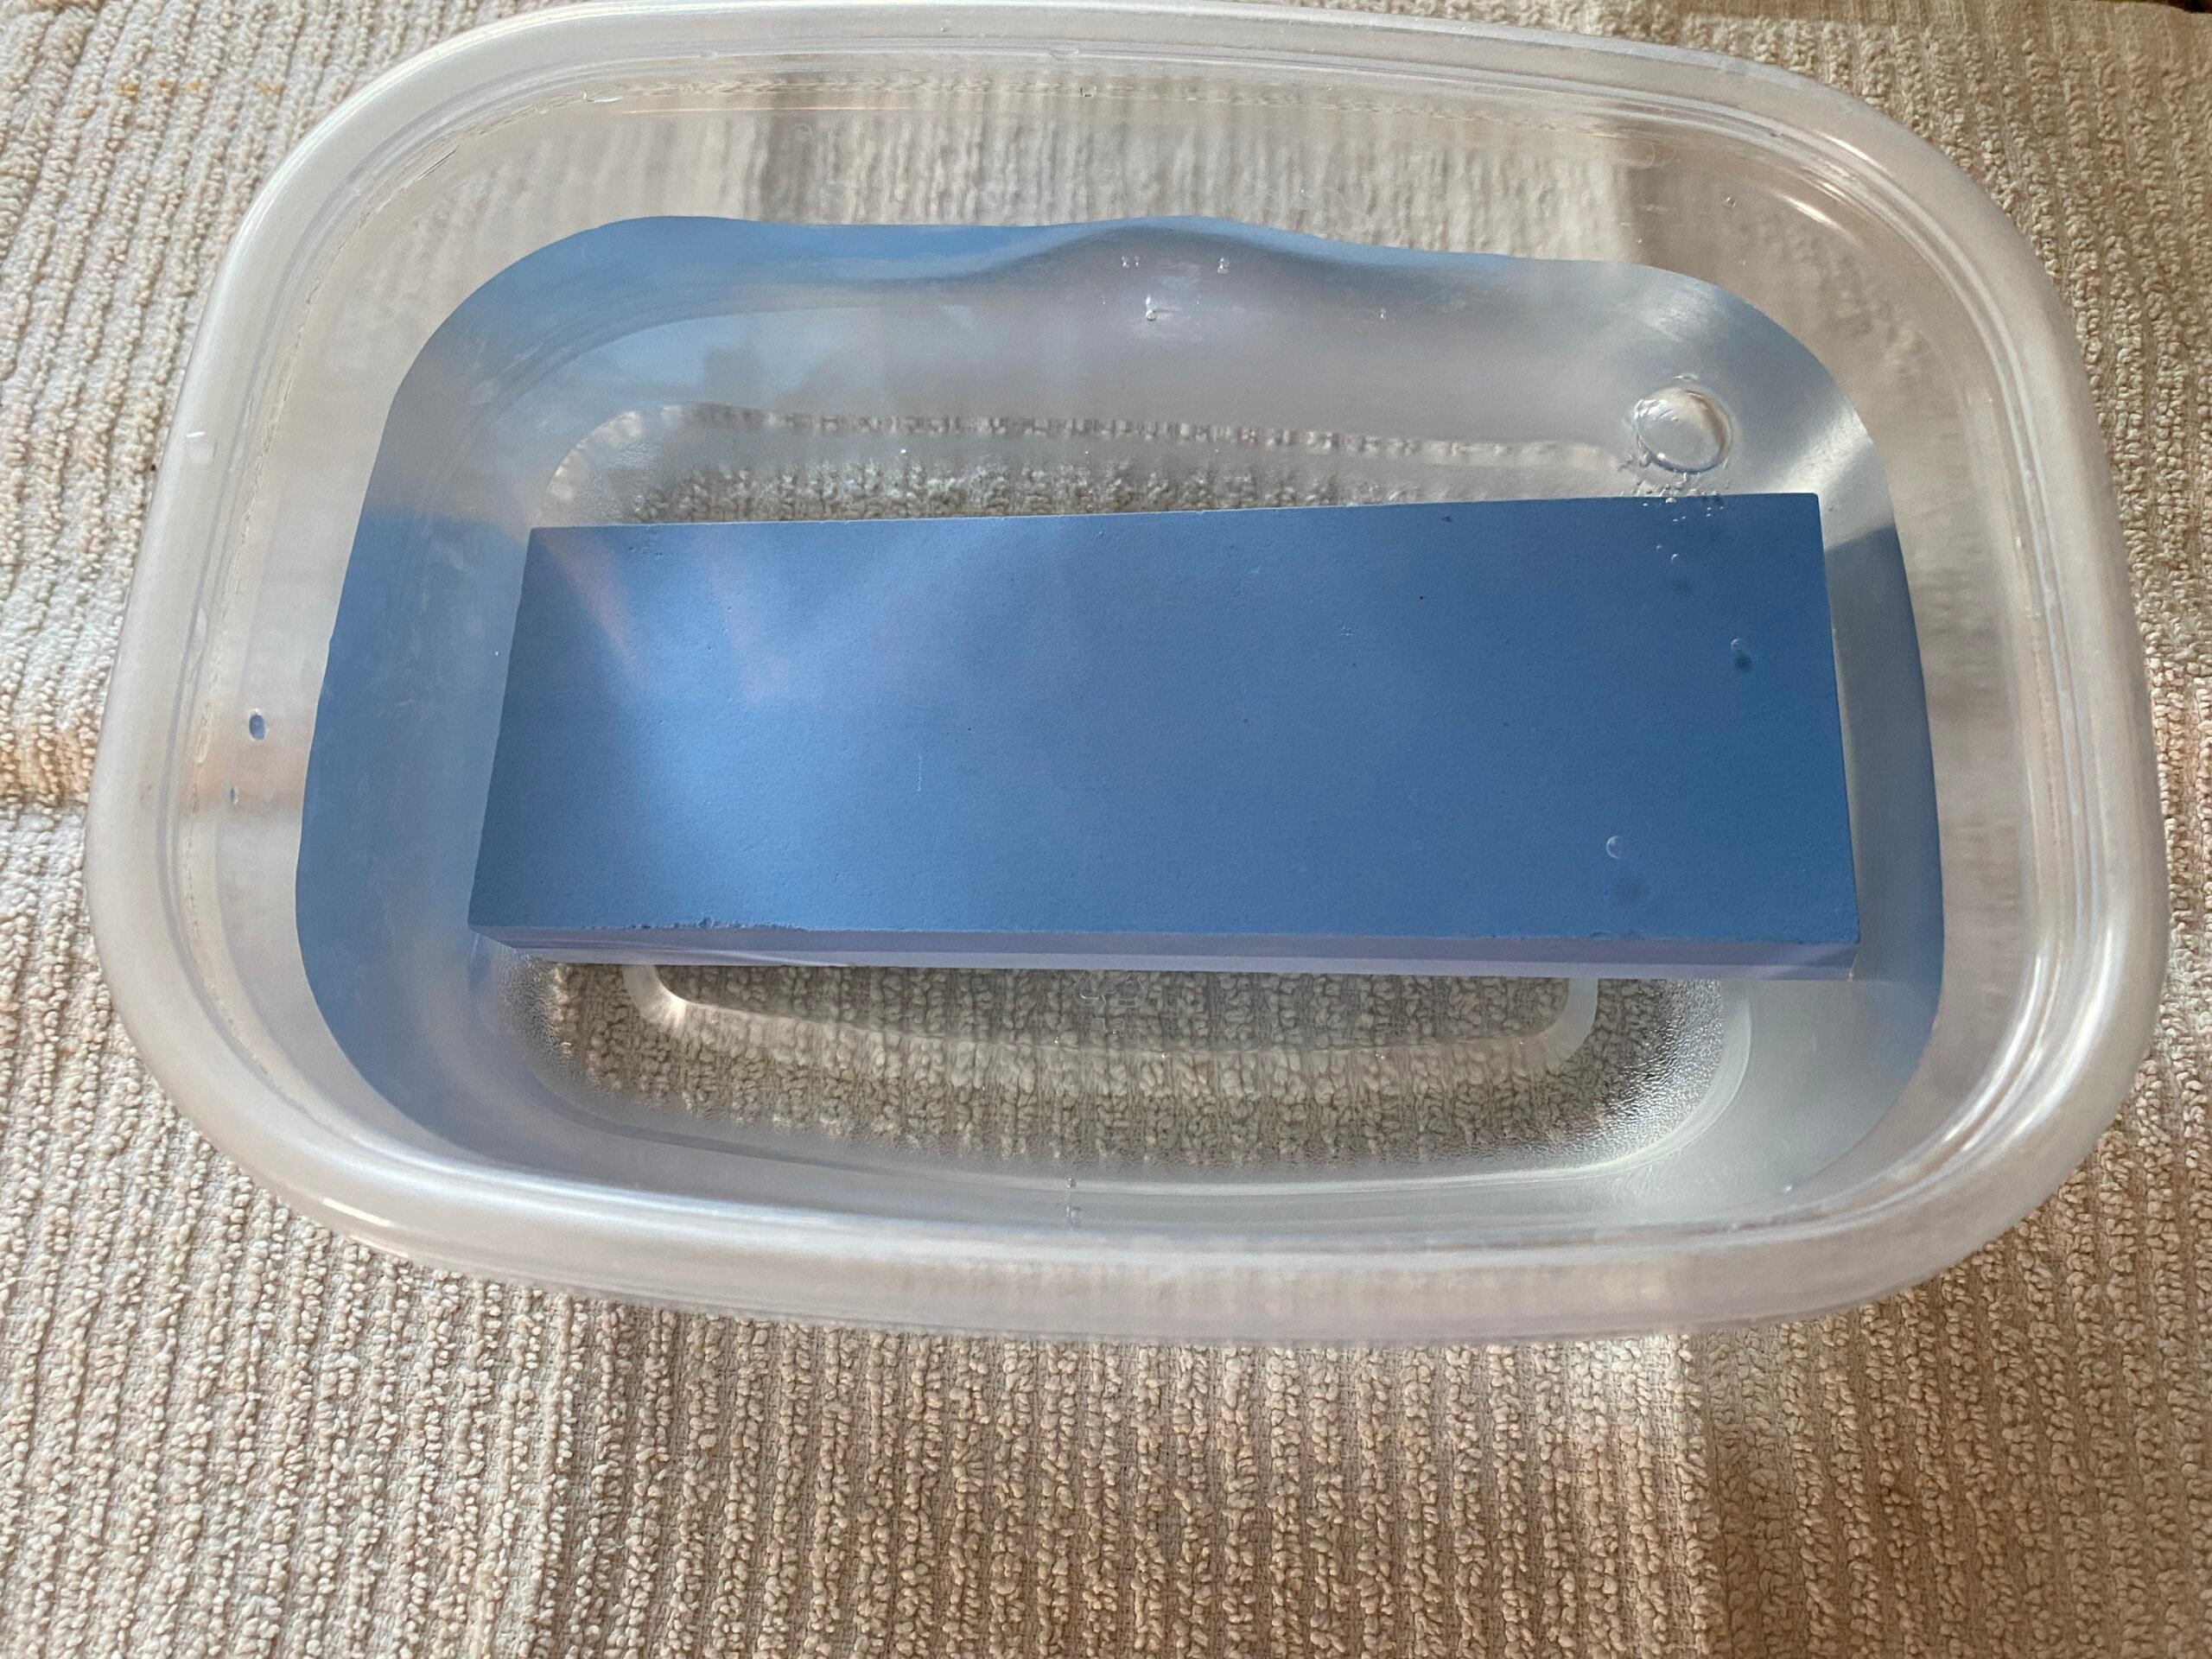
STEP 3: Place the soaked whetstone on a secure surface.
This could mean placing it on a rubberized bottom and/or bamboo base that comes with some whetstones. These types of tools help to raise up the level of the stone from your work surface. And they also prevent slipping when sharpening your knife. But if you don't have these items no worries! A simple slightly damp towel can also provided necessary traction beneath your whetstone. And placing a brick under the towel and whetstone is a trick to raise the height of the stone a bit, without having to use a bamboo base.
STEP 4: Use the Correct Hold and Angle of Your Knife
Japanese knives will usually be sharpened using a 15 degree angle, whereas French and German knives require more of a 20 degree angle. But always check with your knife's manufacturer's instructions to be sure of the correct sharpening angle.
As a beginner, it could be helpful to attach an angle guide to the back of your knife. THis takes the guess work out of it and maintains a consistent angle during the sharpening process.
Use your dominant hand to hold the knife and use your non-dominant hand to gently rest your fingers on the blade. My approach is to let the non-dominant hand rest on the knife while not applying much pressure. But some knife sharpening experts use 4 to 6 pounds of pressure with the non-dominant hand. You can find an approach that works best for you. I'm just sharing one approach that has worked for me.
STEP 5: Determine your Sharpening Approach
You can sharpen a blade in sections, or in one full sweep of the entire blade in one stroke. I worked in sections in the instructional video. Some of this is personal preference. Find a style of sharpening that feels right to you.
When I push the knife away from myself that is considered the "edge trailing" direction. That is where I apply pressure rather than applying pressure in both directions.
Whether you're using the sections method or one full sweep method, be sure to sharpen fully from the tip to the heel of the blade.
STEP 6: Complete 10 to 12 Passes on Each Side
If you're wondering "Do you have to sharpen both sides of a knife on a whetstone?" the answer is yes! Once you've completed sharpening enough sections of the blade (or if you prefer, one full sweep of the blade) that's considered one "pass." Complete 10 or 12 passes on one side, then turn the knife over to the other side, to repeat this process on the other side.
Depending on the sharpness or dullness of your knife, it may require more or less passes.
While sharpening, you will need to keep the stone wet. Use a squirt bottle or dip into a small bowl of water to maintain a wet whetstone. If the stone dries out it's more likely to scratch your knife. So periodically remoisten your whetstone as you work, for best results.
You can occasionally rub the whetstone with a flattening stone if you have one. This helps to lubricate the knife with the grit it creates. It also helps to keep your whetstone even.
STEP 7: Use a Fine Grit Whetstone to Finish
Now that you've used a coarser grit stone to take down the roughness of the edge, you can switch to a finer (higher number) grit whetstone. A finer grit will refine your knife's edge. Complete the same method and number of passes as you did on the coarse side, or just until your knife's edge is smooth and sharp.
To test the sharpness, slice through a piece of paper. Once it's been sharpened adequately it should slice paper very easily, without getting caught or making ragged cuts.
FREQUENTLY ASKED QUESTIONS
Is a whetstone the best way to sharpen knives?
While it's a personal choice and what you feel most comfortable with, I have found whetstone sharpening to be the most effective knife sharpening process.
Do you sharpen a whetstone wet or dry?
Always use a whetstone wet. This will avoid damaging your knife. There are other types of sharpening stones that only need oil to use, but in the case of a whetstone it should always be used wet.
How often do you whetstone a knife?
This will depend how often you use your knife. It's often recommend to use a whetstone about 2 or 3 times a year. As someone who cooks a lot I have had to use my whetstone more frequently, so it can vary.
Knife Recommendations
If you need some knife recommendations, here are some of my favorites.
These are affiliate links so if you click on any of the links I make a small commission Thank you for your support!
Kitchen Knives:
- Messermeister 8" Chef Knife: https://amzn.to/3c2Y1u5
- Japanese Santoku Knife: https://amzn.to/4ciKRmQ
- Japanese Nigiri Knife: https://amzn.to/3Tn4Qbj
- Serrated Knife: https://amzn.to/3IIo9ai
- Paring Knife: https://amzn.to/3TklkkC
- Cleaver: https://amzn.to/4aiDMke
- Boning Knife: https://amzn.to/3vh6Iue
- Kids Knife Set: https://amzn.to/49WZw5F
Knife Guards
- 8" Knife Guard: https://amzn.to/4ch66W5
- 10" Knife Guard: https://amzn.to/3TCD3VK
- 6 to 8" White/clear Bladesafe Knife Blade Guard: https://amzn.to/43psj0i
I hope you found this article helpful, and if you did, leave a comment!
Leave a Reply